Saturday, 2 March 2013

The end of the beginning for my Williams FW14B

RADIATOR DUCTS, RADIATORS AND ENGINE FIX.

Things have moved on relatively quickly since my last post, so I thought it might be a good idea to bring you up to date. After fixing the front brakes, which was very straight forward I moved onto the radiator ducts. The instructions are very clear and the parts easy to fix.  Attaching the ducts to the body was OK. I found it a little difficult to get the electric cable into the hole on the left side and was glad that I had tried a dry run before using adhesive. It might also have been worthwhile leaving out the wire inserts, but the inserts make the cables mould better to the bodywork with the inserts. I also checked out the Paul Smith, Dan Parrat and modelersite photographs for extra cable detail. I found these both helpful and confusing at the same time. For some of this detail I concluded that I simply dont have the tools to construct some of the parts and the detail on the modelersite and Paul Smith sites is so brilliant that I have to admit my 52 year old eyes simply can't recreate no matter how strong my glasses are and my pockets are empty for buying more tools and parts, which I am sure could be found in some resin kit sites, hey ho such is life. I attached the ducts carefully to make sure the body work was not damaged. I used some super glue on the front left duct as the cable kept pushing the duct out of line. I then added some extra detail to the ducts and decided that I may come back to this detail at a later date when I have completed the majority of the build, as it is an easily accessible area to work on. I then measured up the metal foil part so that I could feed through the green cable before attaching it to the bodywork. I pushed the cable pegs through the foil and it would be advisable to make sure the foil is clear of the pegs as the cable will not fit on easily at the engine mount stage, some thing I neglected to do and cost me more time at that point. The next stage, fitting the radiators was quite easy, the only thing I did extra was give the radiators a wash with some matt black to highlight the detail. I may also add the red cable from the engine kill switch to the engine block. Here again I am confused as the box detail shows the cable ending before the engine block, but the other sites seem to show that this may not be the case, however the photographs are not clear, FRUSTRATION ! 
Fixing the engine was OK, but take care with the two top screws as I felt the screw holes should either be smaller or better designed, as the difference in size between the screw head and the hole is almost nil. I put a little super glue onto the top hose connection with the radiator to fill the tiny gap and painted it when dry. Tying of the green cable  was next on the list. Where to cut the cable as there was at least 4 or 5 cm spare. I gave myself about 2 cm to play with for tying off. I found this very fiddly as the peg to is only 1 or 2 mm long and I didn't want to be to forceful and end up snapping the peg off. I managed it after a few attempts and ended up putting a tiny drop of glue on the cable to secure it, I used the same technique when fixing the rigging to the Vosper MTB and the Schnellboot. Well that's as much as I have done.
 I feel that I have completed most of the build now which is a bit of a shame as I have really enjoyed this project and cannot afford to start another one. It is also a problem to find spaces to display the finished results and dusting them is a real pain in the. Anyway moving swiftly on I am sure there are more little problems to solve with this one. Here are some photographs of the kit as it is now and I hope they are of interest.


On this side I added cable detail to the small small radiator on the top of the duct and an extra cable and tie to the rear.

 
On this side I have only added one extra cable to the front and painted the top assembly slightly differently refering to the box art and other web sites. There are many other details that can be added here at a later date.

 I have not finished working on this area, the rivets need to be painted and the kill switch cable added.


What ho! that's all for now so it's cheerio and tinkity tonk from me.

Thursday, 21 February 2013

WILLIAMS FW14B The story so far

REAR COWLING AND FRONT SUSPENSION

I have finally finished spraying the rear cowling and added the active suspension detailing. The rear cowling wasn't much of a problem until I took off the masking tape, which left one or two spots of matt adhesive marks on the blue area. My mistake I suppose, the blue paint must not have hardened off, even though it had been left for a week. I corrected this by over spraying with clear acrylic and that seems to have done the trick. The front active suspension detail is now complete. at least to the parts supplied, but the box art shows another section that should be included. However since this is now to be covered over for ever I think I will leave it and there seems to be little space under the cover to add extra components. The reason I say it will be covered over without being able to remove the cover is that the retaining screw is fixed into the plastic tub cover and removal of the screw will simply strip out the thread of the plastic making it impossible to fix it back down again. Another metal bracket would have resolved the problem and I am sure I could have rustled something up if I had thought of this sooner, what ho for hindsight eh! I have also been thinking about the engine air intake and having researched many photographs of the actual car, have decided to spray the blue square onto the yellow to avoid using the supplied blue decal and having paint match problems. Once again the side box art is incorrect in this aspect. I have also received from Hong Kong the extra Camel and tyre decals, well worth the $10 to finish the model accurately. I shall now get on with the front brakes and side pod detail and update my blog when I have made some progress. I know it might seem a bit of a pain, but I would really like anyone who reads this to give me some feedback. Thanks and cheerio for now. Here are some pics.


That's all folks !

Tuesday, 12 February 2013

Williams FW14B update

Masking and Dust 
I thought That I had found my ideal solution to my masking problem by using my old bottle of Humbrol Maskol, from my paint store, coupled with my 5 mm tamiya masking tape for the small areas to be covered, jolly good and off we go. I started by spraying the yellow, them masking off after 24 hours drying time. This was when I encountered my dust problem, as gloss spray highlights dust much more obviously than matt spray, which in my previous experience is mainly the type of spray used on military models. Coupled with the fact that I am having to spray in  my kitchen rather than in the garage, it's just too cold even for us northern folk and the cold does nothing for paint drying time. Any way after a few coats I was happy with the finish. On with the masking and spraying the blue paint and more drying time. Disaster ! the maskol was not up for the job. Hey ho back to square one. This time I simply used the Tamiya tape and trimmed it with  a swann morton scalpel. What Ho ! success. I then repeated the process with the semi gloss black , job done. As I was busy with the masking tape I decided to spray the main body cowling and have so far sprayed the blue and yellow areas and am now in the process of spraying the white. Again dust is the main problem, as no matter how much I clean up the area to be sprayed, suddenly there seems to appear a small hair or tiny speck of dust, where do they come from ? I suppose I shouldn't be surprised, living in a house with a large boisterous Labrador  and backing onto farm fields doesn't help.
Anyway that was a good weeks spraying, including drying time and I have learnt a lot. I am also happy with the result and can only hope that the coach line decals fit well. I also need to purchase the extra Camel decals to make sure the finished model is accurate for the season.


I shall carry on with my project but have decided that there is no way that my modelling skills or my stock of tools and parts are up to the super detailing of Paul Smith's standards as I would have needed to cut off the nose section for the front bulkhead detail. You just have to realise your own limitations and marvel at the expertise of other people who are simply better than you.
Cheerio for now. 

Sunday, 3 February 2013

WILLIAMS FW 14 B UPDATE

I have completed the cockpit tub and am now ready to cover it up in the front part of the body work, which will hide forever the foot pedals and most of the internal detail if the drivers compartment, so I thought I might as well take some photos and describe some of the problems I encountered.
I began  by spraying it blue, giving it 3 coats and allowing 12 hours between coats. I then masked of the blue and sprayed the semi gloss black areas. Having looked at the instructions for installation of  the engine I needn't have taken so much care with the back as it is covered with metal foil. Ah well, tinkity  tonk as they say. I proceeded to add the subsequent detail and was quite pleased with the result. The seat belts were a bit fiddly, making sure they were aligned properly with no overlapped areas. It is also important to remember not to fold the main body strap section before attaching it to the adjustment buckle, one of the very few ambiguous parts of Tamiya instructions. The straps themselves seem very prone to fraying and once attached to the seat need a careful eye to remove stray threads. Fitting the seat is also a little ambiguous and I referred to the box art for positioning. Once again much of the dashboard detail and the internal cockpit will be hidden when I attach the front cockpit cover. 
Here is my next problem. I need to spray this part yellow, blue and black. There are no clear instructions as to where to spray the blue paint on the underside of the front upper arm suspension covers and I cannot decide which colour to spray first. The instructions also do not indicate if the inside is sprayed black, but I assume it is. I shall now move on to completing the active suspension detail and the front brake assembly. 
I am enjoying making this model and in many ways I will be sad to complete it. I hope you enjoy the photos and if anyone out there has any advice please Email me at malcolmh61@googlemail.com


Also note here that there is no clearance between the steering shaft and the brake pedal.Having fixed the pedals earlier there wasn't much I could do here. The green cable attached to the pedals is also fixed with super glue. There is no way on earth that I can tie a knot in 10mm of cable, perhaps some superhuman at Tamiya can sent me a tutorial, because now I am trying to think of how I am going to tie it onto the throttle on the engine block. Hey ho another problem for another day.


This is the troublesome spray paint part that I mentioned.


I hope you enjoy the photos and at least I have some evidence of the detail inside the cockpit.


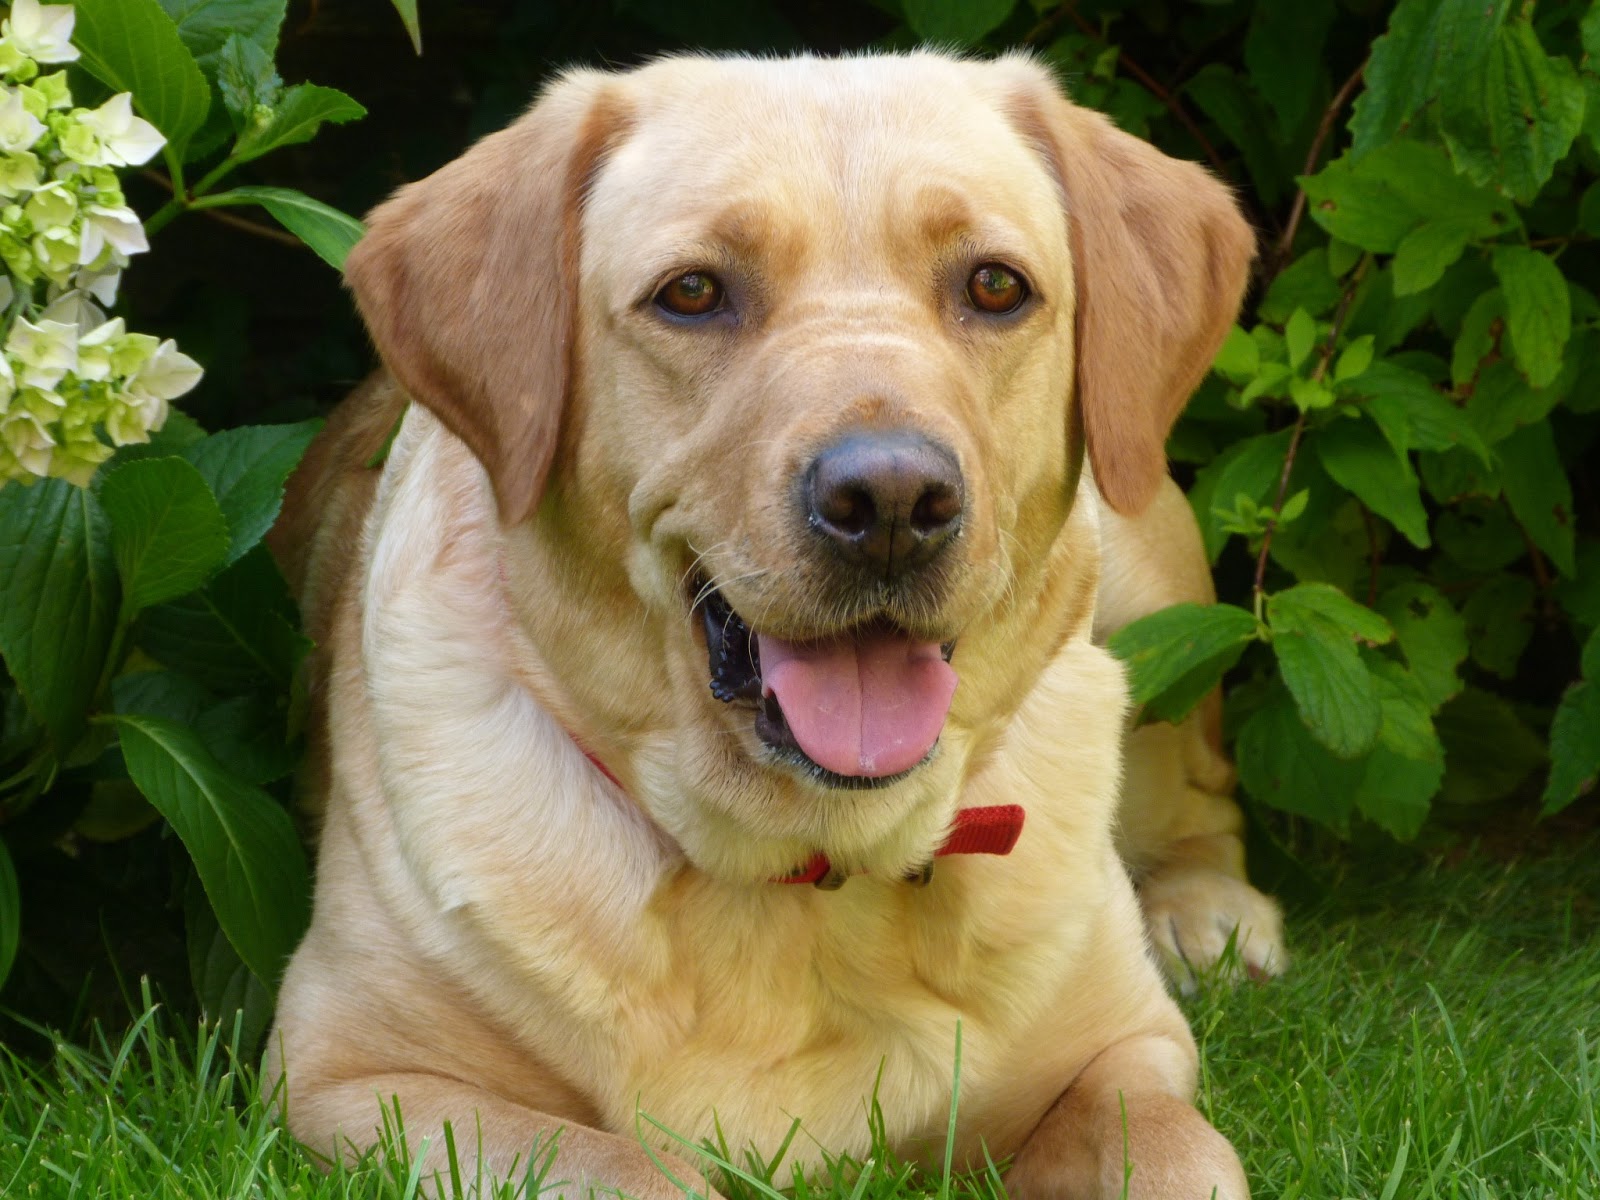
I had to include this photo of my biggest fans and the greatest contributors of problems to spray painting indoors in the winter months, HAIR !!

Friday, 25 January 2013

Williams FW 14B build update.

The completed engine block.
I have finally completed the engine build, complete with rear suspension and brakes. This was a fairly straight forward process with only one or two slight problems. When attaching the cables     I used superglue and painted the connections silver as per the box artwork, which is also very useful for adding extra detailing. I must admit I picked this up from another website by Dan Parrat. info@ modelersite.com I found his hints and tips very useful for the build. The brake pad assembly was a slight problem as I painted the inside of the pads and when I came to fit them it was too tight a fit for the discs. Once removed and cleaned up it was a perfect fit, allowing smooth rotation. However when completed turning the whole wheel assembly seems to put a high degree of torque on the half shafts. I shall wait to see what it is like when I fit the wheels themselves. This is only a minor consideration as  the completed model will be mounted on a plinth for display purposes. There are some differences between the box art and the instructions and I defered to the website for inspiration. Dan had a big advantage over me as he had the chance to look at the real thing at Donnington.  The only addition I have made at this stage is to add a hose from between the  suspension dampers attached to the top of the gearbox. I shall wait until the block is attached to the bodywork and sidepods before attempting to detail it further. I know this seems a little pointless as it will be covered up when finished and removing the bodywork seems to take some time, but as a model maker this is the case with most models I have made. The enjoyment is knowing the detail is there, however sad that makes me seem.   I have now moved onto spraying the cockpit tub assembly. So far I have given it 3 coats of blue gloss and am now leaving it for 24 hours before masking it to spray the semi gloss black areas, a slow process but essential for a near perfect finish. I say near perfect because there is bound to be at least one or two specks of dust under the spray paint, although it looks pretty damn near perfect to me. 


I  shall be back in the near future with more information and pictures of my progress, cheerio for now.

Monday, 14 January 2013

A new year, a new project.
I decided to start the new year with something different to take on as a long term project. I considered making one of my favourite subjects, the Lancaster bomber in 1/48 scale. There are a number of upgrades to enhance the basic kit and a number of scratch built modifications on the flaps which make it an ideal subject. I used to have a basic model of S for sugar and I was very proud of it. Unfortunately I took it to school for using as an example of how scale could be measured and one day when I was off school a supply teacher knocked it off the shelf and ruined it, such is life. There were problems with this choice in that the finished model is approximately 1m long and 1m wide, which makes it a difficult piece to display. 
I thought about the project some more and finally decided on building a 1/12 scale Williams FW 14 B, Nigel Mansell's famous red 5 from 1992. This took me back to my younger years yet again, as I had built a few 1/12 cars. I bought the kit on E Bay at a fraction of the cost from traditional model shops, how can they compete with these prices ? In my research I have found two sites to help with the build and extra detailing that I intend to include, although  some of the detailing and tooling is beyond my resources and eyesight. So far I have nearly completed the engine block assembly and rear suspension arms. The only thing that needs particular care is the tightening of the screws into the top front suspension brackets as they are thin plastic. I am about to start the rear brake assembly and finish of the engine. I shall post another blog when this is complete.  


I hope you enjoy these images and shall be in touch soon.

Tuesday, 6 November 2012

BIG IDEAS
I have not managed to do much in the way of modelling lately. The natural light has diminished now and my halogen lamp, which came from a car boot sale, has finally decided to pack up. Without it my old eyes simply aren't good enough to continue, so I have been checking out some awesome stuff on You Tube. There is a video of a 1:7 scale Apache helicopter with moving pilot, gunner, target locator and gun, as well as being well detailed, fantastic. There are numerous clips of 1:4 and 1:6 scale radio controlled tanks which are brilliant. If only I had the cash and the space to build one and the truck I would need to transport one of those 200kg monsters. I have been spending more time on the computer than ever and am sure this is down to the fact that there is so little worth watching on TV. We british seem obsessed with hospitals 3 hours of these each week at prime time. The Downton Abbey series seems to fascinate for some reason, why are we so interested in stories about a world of the have and have nots and the class ridden society which plagued our past. It also seems that we need to know as much about the American election as the average American citizen as it dominates vast sections of our domestic news programmes. I wonder if there is coverage of our elections in America. I somehow doubt it, although I will never find out, having never been there and having no money or even a passport am never likely to find out. There is one other reason of course, like Frankie Boyle, I am terrified of flying and have never set foot on an aeroplane. This fear is nearly as rational of my fear of snakes, which I have only ever seen on TV, although I did see one in Scotland, but this is disputed by the rest of the family who insist it was a slow worm. I didn't hang around long enough to confirm my suspicion. There are one or two programmes that I do enjoy, DCI Banks, Wanted and the great American series Homeland, now in its second season. Ah well that's life. One thing is or sure I know more about the presidential election than I do about the forthcoming election of police commissioners in England,